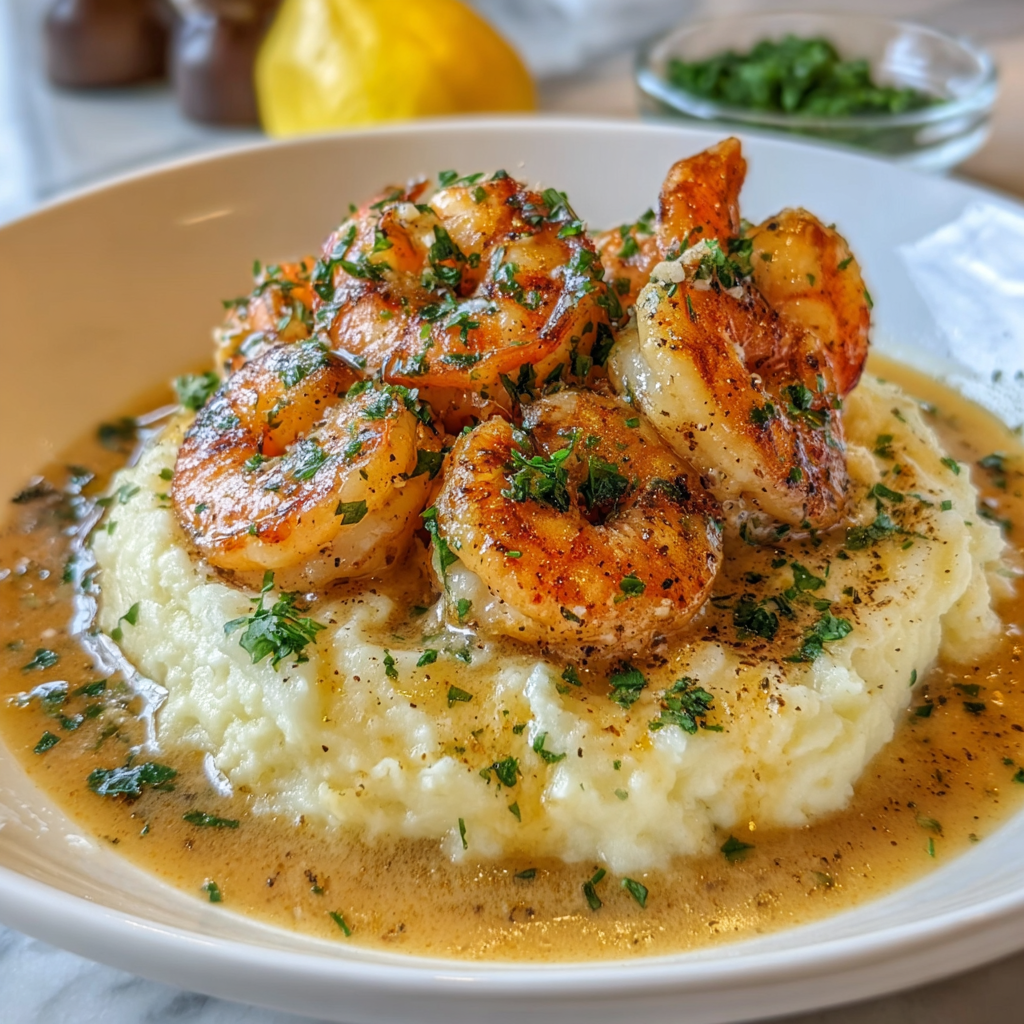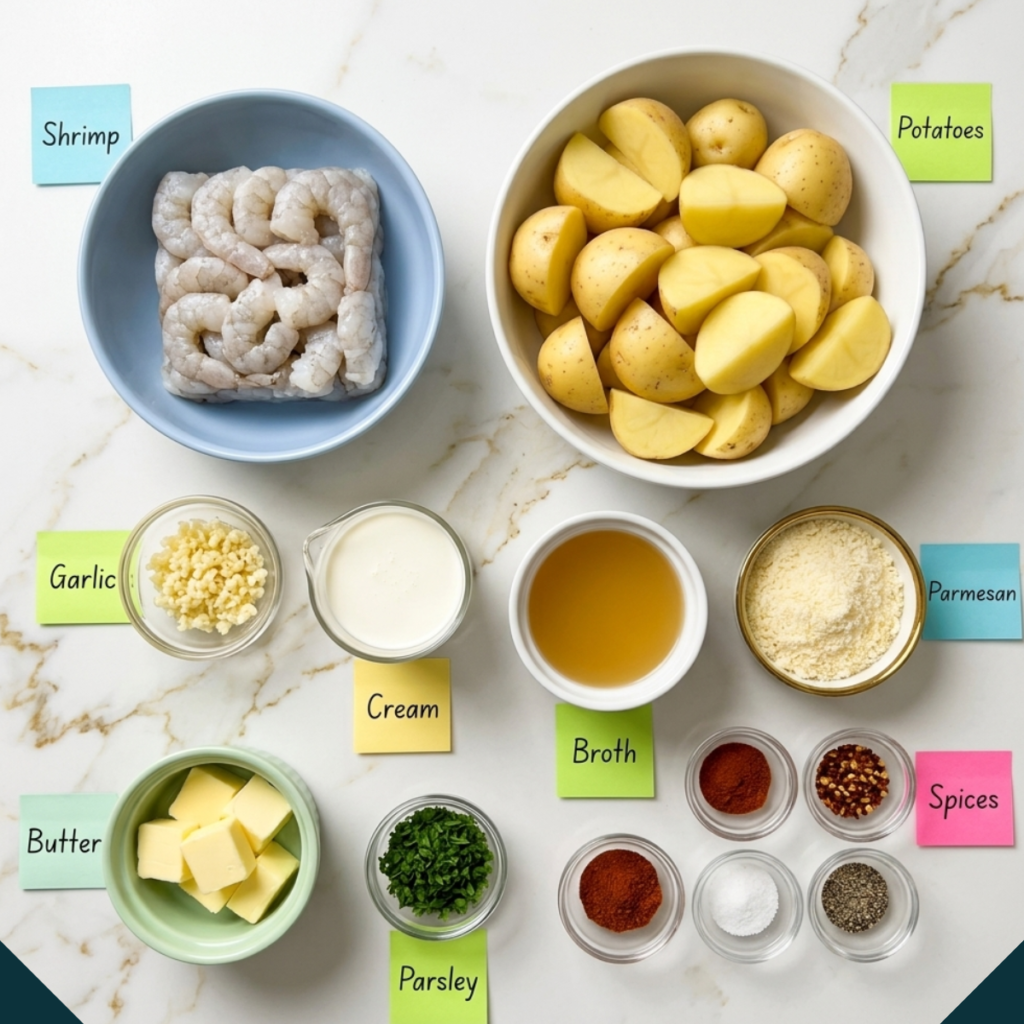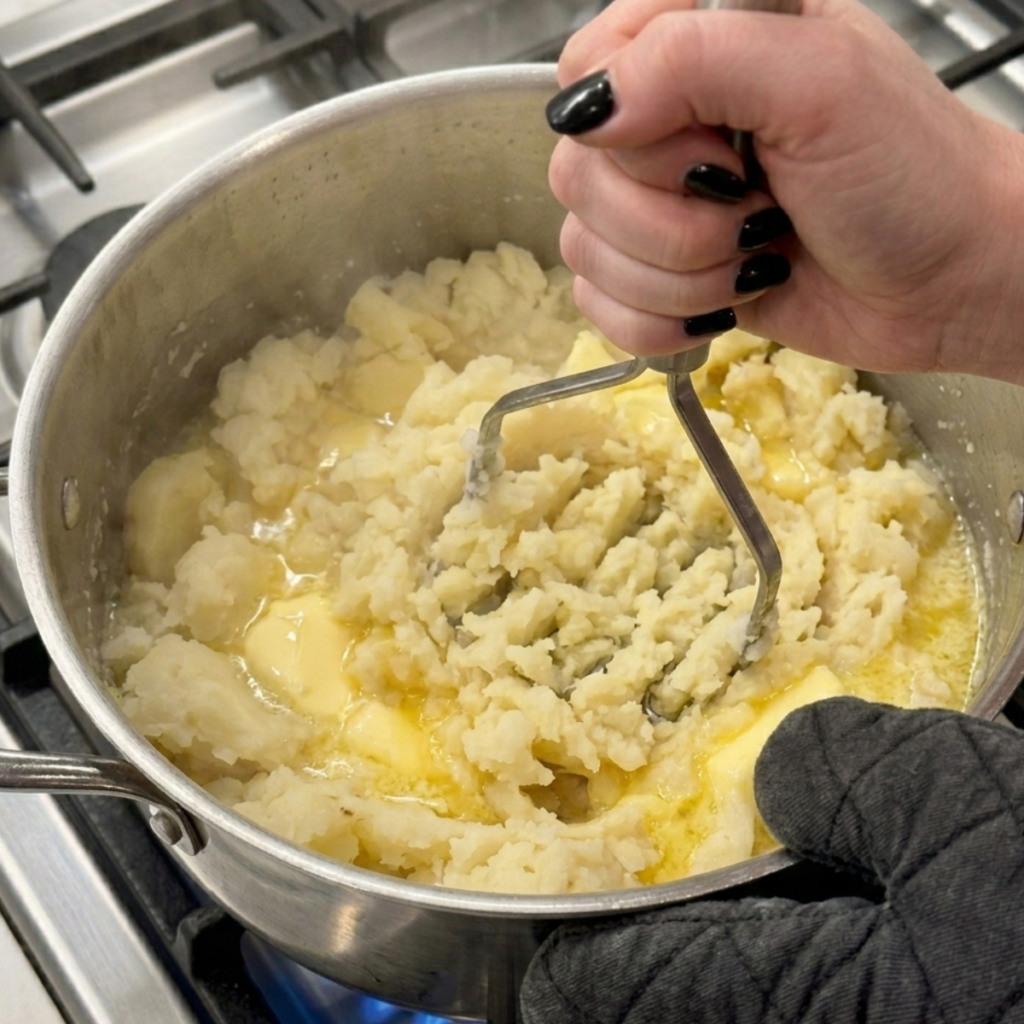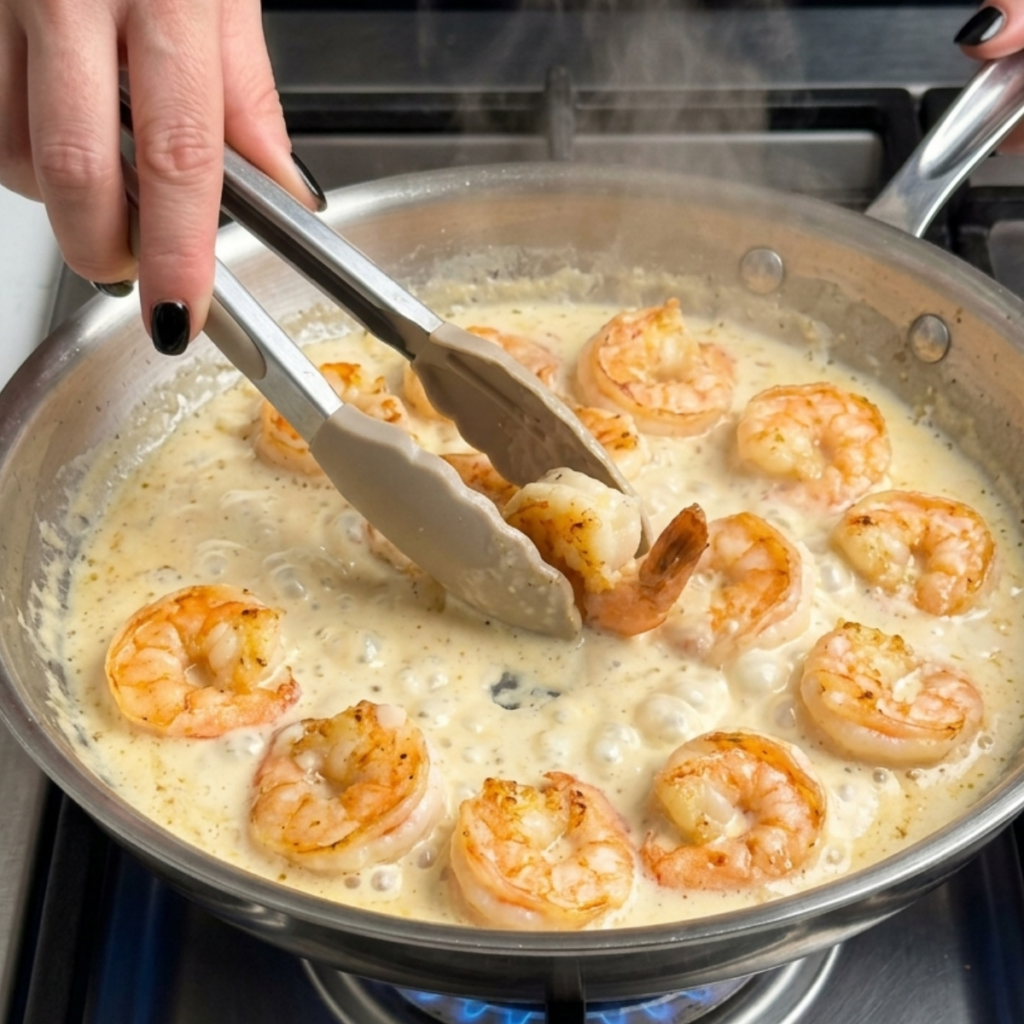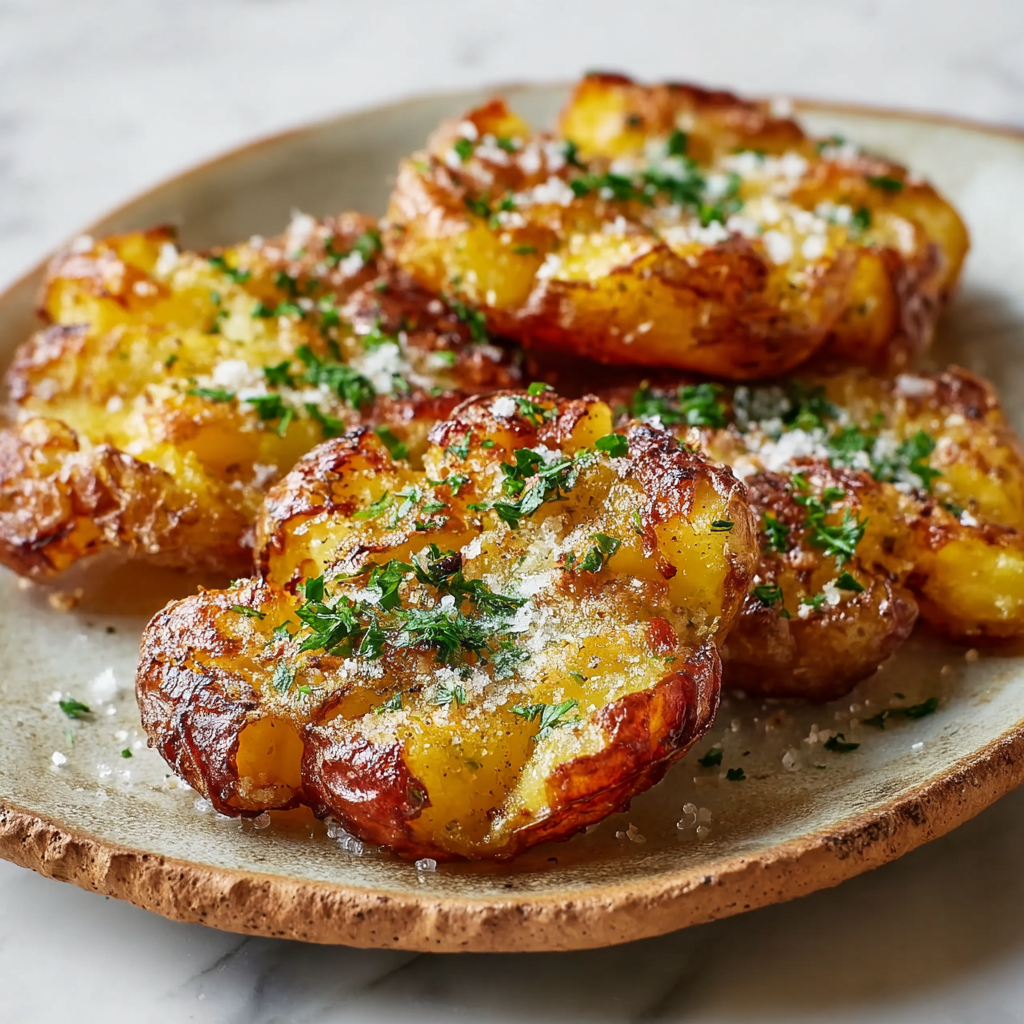
I pressed too hard, and the potatoes disintegrated into pieces. Ben looked at the tray and said “those are not smashed; those are destroyed.” Mia picked one up, ate it anyway, and said it tasted delicious. She was right, but I needed them to stay intact. That rubble batch taught me the technique behind the best potato side dishes easy enough to make every week.
Why This Recipe Is Special
Smashed potatoes sit in the sweet spot between roasted potatoes and mashed potatoes without being either of them. They are crispy on the outside where the edges have crisped and caramelized against the hot pan, soft and fluffy in the center where the potato is still tender from boiling, and covered in a golden parmesan crust that gets nutty and salty and slightly crackly in the oven. Garlic butter goes on before they bake, and fresh parsley goes on after, and the whole tray looks like something from a restaurant. Ben calls them “the fancy ones” and asks for them whenever we have company. They take forty minutes and feel like an occasion.
How To Make Crispy Parmesan Smashed Potatoes
The successful batch came on a weeknight when both kids were inexplicably at the kitchen table instead of anywhere else and decided to have opinions about potato technique. Mia wanted to do the smashing, which I allowed because she approached the task with the careful, deliberate energy of someone who takes potato-based responsibilities seriously. Ben was measuring the parmesan and eating approximately every third pinch, which is a completely consistent quality-to-consumption ratio for him. When those potatoes came out of the oven golden and blistered with the parmesan crust set into something genuinely beautiful, Ben said “okay these look like the real thing.” They looked exactly like the real thing.
The lesson from the rubble batch was about pressure and timing. You have to boil the potatoes until they are genuinely fork-tender all the way through, let them steam dry for a few minutes, and then press with the flat bottom of a glass or measuring cup using firm but controlled downward pressure. The goal is a disc about half an inch thick, not a pancake. If the potato cracks at the edges, that is exactly right, and those edges are where the best crunch lives. Ben mastered this on the second attempt and has been doing it perfectly ever since with a focused calm that I find impressive for a nine-year-old.
Main Ingredients
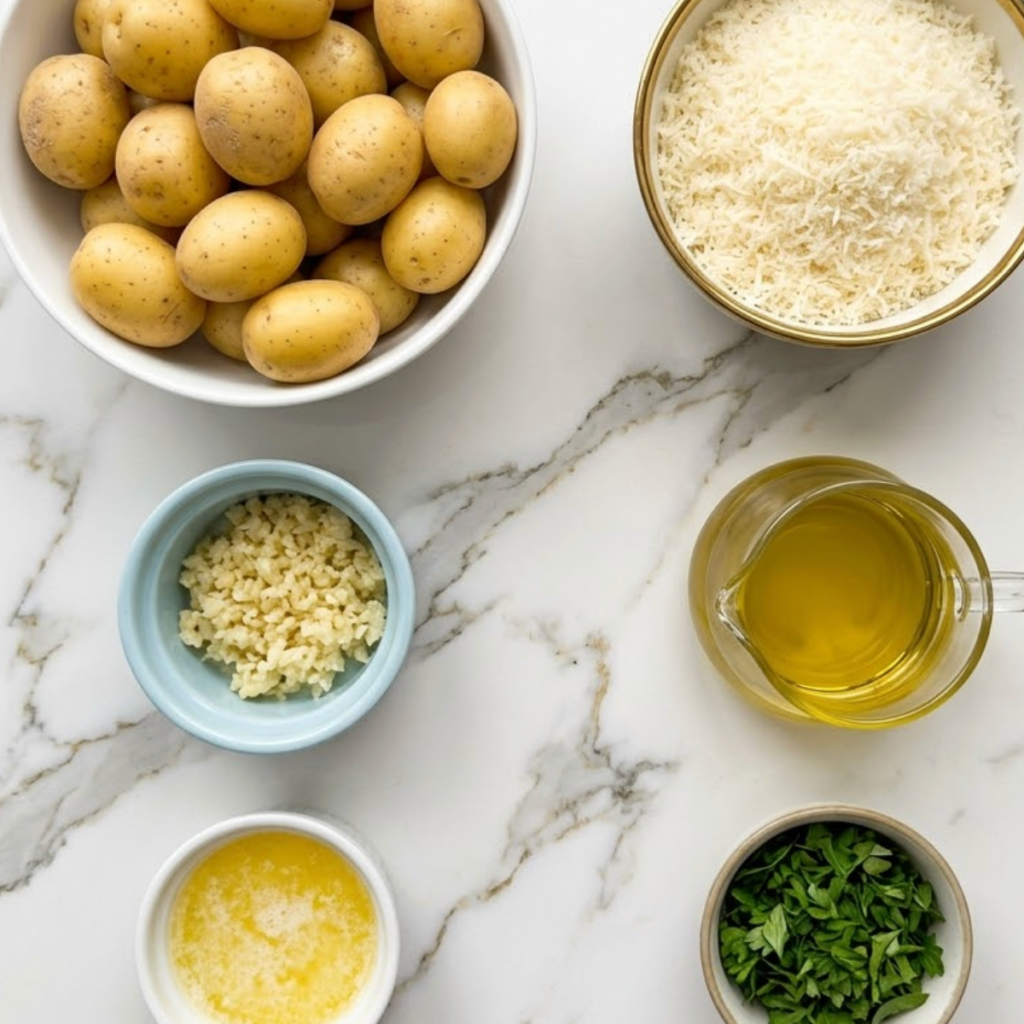
- 1.5 lbs small yellow or baby potatoes – Small potatoes work best; they boil faster and each one becomes a perfect individual smashed disc after pressing
- 3 tablespoons olive oil – Drizzled over the smashed potatoes before baking for golden crispy edges
- 2 tablespoons unsalted butter, melted – Combined with the olive oil for a richer, more golden result than oil alone
- 3 cloves garlic, finely minced or grated – Mixed into the butter and oil so every potato gets garlic flavor baked in from the bottom
- 1/2 cup freshly grated parmesan – Scattered over the top after the garlic butter goes on; it bakes into a golden nutty crust that is the best part
- 1 teaspoon dried rosemary or thyme – Optional but adds an herby warmth that pairs beautifully with the garlic and parmesan
- Salt and black pepper to taste – Season the boiling water generously and season the potatoes again before baking
- Fresh flat-leaf parsley, finely chopped – Scattered over the hot potatoes right after they come out of the oven for color and freshness
- Flaky sea salt for finishing – A small pinch over the parmesan before baking makes every bite taste finished and intentional
Step-by-Step Instructions
Step 1: Boil the Potatoes
- Place the whole unpeeled potatoes in a large pot, cover with cold water, and add two generous teaspoons of salt to the water before bringing it to a boil
- Boil the potatoes for 20 to 25 minutes until completely fork-tender all the way through the center; a fork should slide in and out without any resistance
- Drain the potatoes and spread them in a single layer on the prepared baking sheet; let them steam dry for 5 minutes so the surface moisture evaporates before smashing
- The steam-dry step matters more than it seems; wet potato surfaces do not crisp properly in the oven and the parmesan will not stick evenly to a damp potato
Step 2: Smash the Potatoes
- Preheat your oven to 425 degrees F and drizzle two tablespoons of olive oil over the parchment-lined baking sheet before the potatoes go on
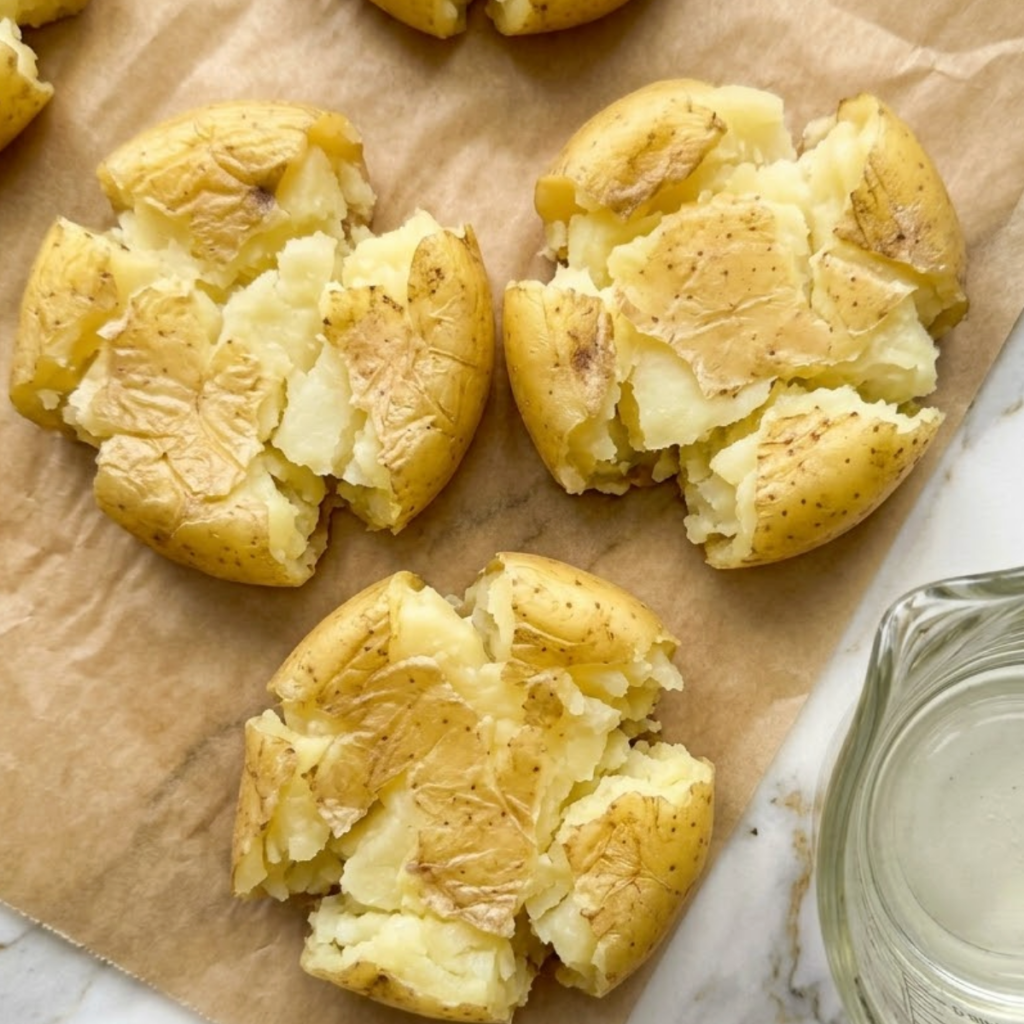
- Using the flat bottom of a glass, measuring cup, or the heel of your palm, press each potato firmly and steadily downward until it is about half an inch thick; you want a disc with slightly craggy, cracked edges, not a thin, smeared pancake
- The edges that crack and spread outward during smashing are the parts that will get the crispiest and most golden in the oven; do not try to tidy them up
- Space the smashed potatoes at least an inch apart on the tray so the heat circulates around every edge during baking and nothing steams instead of crisps
Step 3: Season and Bake
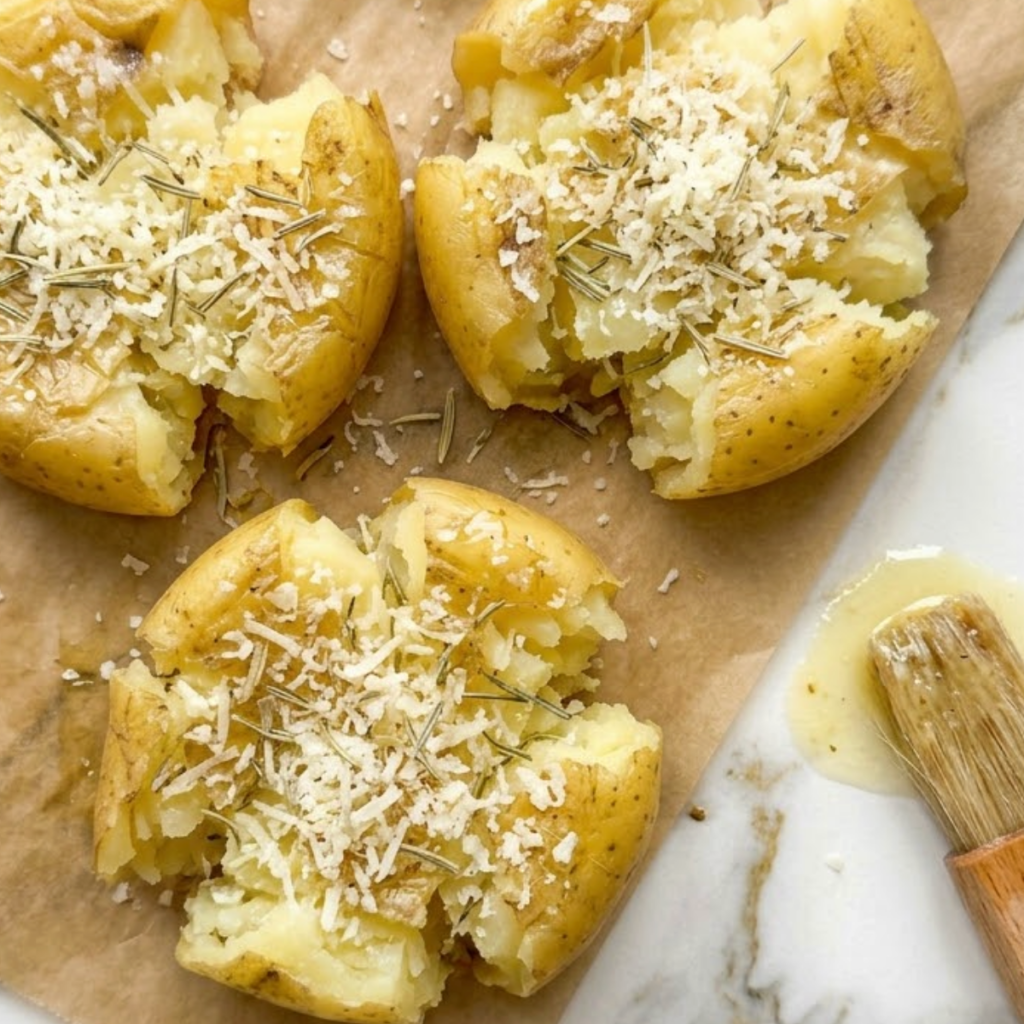
- Whisk together the remaining tablespoon of olive oil, the melted butter, and the minced garlic in a small bowl, then spoon or brush the garlic butter generously over every smashed potato
- Scatter the freshly grated parmesan evenly over all the potatoes and add a small pinch of dried rosemary or thyme and a pinch of flaky sea salt over the top of the parmesan
- Bake at 425 degrees F for 20 to 25 minutes until the edges are deeply golden and crispy, the parmesan crust is set and golden, and the whole tray smells like a very good Italian restaurant
- Do not open the oven in the first 15 minutes; the potatoes need consistent high heat without temperature drops to develop the proper golden crust
Step 4: Finish and Serve
- Remove the tray from the oven and immediately scatter fresh chopped parsley over all the potatoes while they are still hot so the herbs wilt slightly and stick to the surface
- Add a final crack of black pepper and any extra flaky sea salt over the finished potatoes right before serving
- Serve directly from the tray or transfer to a serving plate; these potatoes are best in the first ten minutes when the parmesan crust is at its crispiest and the edges are still shattering
- Set out sour cream, aioli, or a squeeze of lemon alongside for dipping; the acidity of lemon against the garlic parmesan crust is one of the best flavor combinations this recipe produces
Crispy Parmesan Smashed Potatoes Variations
Mia’s “Extra Parmesan Everywhere” Version
Mia did the parmesan scattering on the third batch and used a quantity that I can only describe as generous in the extreme. I said nothing because I could not think of a compelling argument against more parmesan. For her version, double the parmesan to a full cup and add half of it under the potatoes before baking and half on top. The underside parmesan turns into a lacy, deeply golden cheese crisp that lifts off the parchment in the most satisfying way, and Mia eats these pieces first with the focused satisfaction of someone who planned this outcome from the beginning.
Ben’s “Smashed Potatoes on the Grill” Version
Ben requested the grill version after watching a cooking video and presenting his case at dinner with a level of preparation I had not expected from a nine-year-old. Boil the potatoes as directed, let them steam dry, then smash and brush with the garlic butter mixture. Place them on a preheated grill over medium-high heat and cook for 4 to 5 minutes per side until grill marks develop and the edges crisp. Add the parmesan in the last 2 minutes with the lid closed. The smoky grill flavor against the garlic parmesan is genuinely excellent, and Ben described it as “the summer version,” which it absolutely is.
The Sunburst Potatoes Party Version
For gatherings and parties I make these slightly smaller using tiny fingerling or marble potatoes and arrange them on a large wooden board scattered with fresh herbs and lemon wedges. Press them extra thin, almost a quarter inch, so every bite is nearly all crust with a thin, soft center. The crust-to-potato ratio is dramatically different, and the result is closer to a very thick potato chip than a traditional smashed potato. Mia calls these “the fancy party ones” and stations herself near the tray. I have never once made enough of them for a party, and I keep making the same amount anyway.
Substitutions
Yellow baby potatoes to red potatoes or fingerlings: Red potatoes give a slightly earthier flavor and hold their shape beautifully under the smash. Fingerling potatoes are excellent for the party version since they are naturally smaller and create longer, more dramatic crispy shapes. Both boil and smash in exactly the same way as yellow potatoes.
Parmesan to pecorino romano or Grana Padano: Pecorino romano is saltier and sharper than parmesan and gives the crust a more intensely savory bite. Grana Padano is milder and slightly sweeter. Both grate and melt in exactly the same way. Use slightly less pecorino than the recipe calls for since its saltiness is more pronounced.
Olive oil and butter to ghee: Ghee has a higher smoke point than butter and adds a deeply nutty, slightly caramelized richness that makes the parmesan crust even more golden and flavorful. Use the same quantity as the combined olive oil and butter. This is the version I make when I want the potatoes to taste like something genuinely special.
Fresh garlic to garlic powder: Half a teaspoon of garlic powder mixed into the oil and butter works well when fresh garlic is not available and gives a more mellow, evenly distributed garlic flavor throughout. Fresh garlic can burn at 425 degrees F if any pieces are too large, so finely grating it rather than mincing helps prevent any bitter spots on the finished potatoes.
Equipment
- Large pot for boiling the potatoes
- Large rimmed baking sheet lined with parchment paper
- Flat-bottomed glass, measuring cup, or small saucepan for smashing
- Small bowl for the garlic butter mixture
- Pastry brush or spoon for distributing the garlic butter
- Microplane or fine grater for the parmesan and garlic
- Sharp knife and cutting board for the fresh parsley
- Wide spatula for lifting the finished potatoes off the tray
Storage Tips
Make Ahead
- Boil and smash the potatoes up to 24 hours ahead, cover and refrigerate on the tray, then bring to room temperature for 15 minutes before adding the garlic butter and parmesan and baking
- The garlic butter mixture can be made up to 3 days ahead and stored covered in the fridge; bring to room temperature before brushing so it spreads easily
- These are one of the best potato side dishes, easy enough to prep entirely the night before a dinner party so the only thing needed on the day is the oven
Refrigerator
- Store leftover baked potatoes in an airtight container in the fridge for up to 3 days; they lose their crispiness but the garlic parmesan flavor holds beautifully
- Keep them in a single layer if possible to prevent the parmesan crusts from sticking together and tearing when you try to separate them
- Cold leftover smashed potatoes eaten directly from the fridge are a genuinely satisfying snack that both kids have discovered independently and neither is apologetic about
Freezing
- Freeze baked smashed potatoes on a parchment-lined tray until solid, then transfer to a freezer bag for up to 1 month
- The texture changes slightly on freezing and thawing but reheating in a hot oven restores a good amount of the original crispiness
- Boiled and smashed but unbaked potatoes freeze well for up to 2 months; add garlic butter and parmesan fresh before baking from frozen, adding 8 to 10 extra minutes to the bake time
Reheating
- Reheat in a 400 degree F oven on a parchment-lined tray for 8 to 10 minutes until the parmesan crust crisps back up and the edges are golden again; this is significantly better than any other reheating method
- Air fryer reheating at 375 degrees F for 5 to 6 minutes gives excellent results and is Ben’s preferred method for every leftover potato in this house
- Microwave reheating makes them soft rather than crispy but is perfectly acceptable for a quick weekday lunch when nobody is watching
Family Secret Worth Sharing
My mom always added a tablespoon of white wine vinegar to the potato boiling water, and I spent years thinking it was an unnecessary step until I made smashed potatoes without it and the interior texture was noticeably less fluffy and less creamy. The vinegar does something to the potato starch during cooking that gives the inside a fluffier, more tender quality and makes the outside skin slightly more pliable so it crisps rather than toughens in the oven. One tablespoon to the water before it boils. It does not make the potatoes taste like vinegar. It makes them taste more like the best version of themselves. Mia asked once why the potatoes tasted so good, and I said it was how I cooked them. Ben immediately said “what is the secret ingredient?” He is nine and he already knows there is always a secret ingredient. My mom would have found that absolutely delightful.
Troubleshooting FAQs
The potatoes are falling apart when I try to smash them. What went wrong?
Either the potatoes were underboiled or they were too wet when you tried to smash them. Boil until a fork slides in and out with zero resistance, drain completely, and let them steam dry on the hot tray for a full five minutes before pressing. If a potato crumbles completely when pressed, it was undercooked; return the remaining ones to boiling water for another five minutes and test again. Overboiled potatoes also crumble since they have lost too much structural starch.
The parmesan is burning before the potatoes are crispy. What do I do?
The oven is too hot, or the parmesan was added too early. Check that your oven is actually at 425 degrees F and not running hotter. If the parmesan is browning too quickly, cover the tray loosely with foil for the first ten minutes and remove it for the last ten to fifteen minutes so the crust gets color without burning. Using freshly grated parmesan rather than pre-grated from a container also helps since pre-grated parmesan has added starch that can burn faster.
The potatoes are not getting crispy on the bottom. What happened?
The tray was not hot enough, the potatoes were not dried properly, or there was not enough oil on the tray. Preheat the baking sheet in the oven for five minutes before the potatoes go on for the best bottom crust. Make sure the potatoes are fully steam-dried after boiling and that there is enough oil pooling slightly under each potato on the tray. A cold wet potato on a cold tray will steam rather than crisp no matter how long it bakes.
Can I make these without parmesan?
Yes, and they are still excellent. Smashed potatoes with only garlic butter and herbs are genuinely good on their own. You can also top them with shredded cheddar for a different kind of melted cheese crust, or simply go plain with garlic butter, flaky salt, and herbs for a lighter version. The parmesan is what gives that distinctive nutty golden crust, but the technique and the garlic butter are what make the potatoes fundamentally worth eating.
The Side Dish That Upstages Every Main Course
I have made roasted chicken, braised short ribs, and grilled salmon alongside these potatoes on different occasions. Every single time, someone at the table mentions the potatoes first. Ben takes the most craggy-edged ones and considers this strategic. Mia checks every potato for parmesan coverage before choosing and has never once been satisfied with her first pick. These crispy parmesan smashed potatoes are one of the most reliable easy oven side dish recipes in our whole dinner rotation, sitting alongside our crispy potato side dish recipes that make any weeknight feel like it was planned with intention. For the nights when the whole table needs something to talk about before the main course even arrives, these potatoes next to our garlic parmesan dinner recipes make the whole meal feel like something genuinely memorable. That is a side dish worth having in the permanent rotation.
Don’t forget to snap a picture of your potato side dishes easily before that… (trust me, it will disappear quickly!), and leave a rating below. We’d love to hear how this easy potato side dish recipe becomes part of your family dinner story.